The following will illustrate how to drag and drop the PopUp block into your project to create your own exit popup or on PageLoad popup.
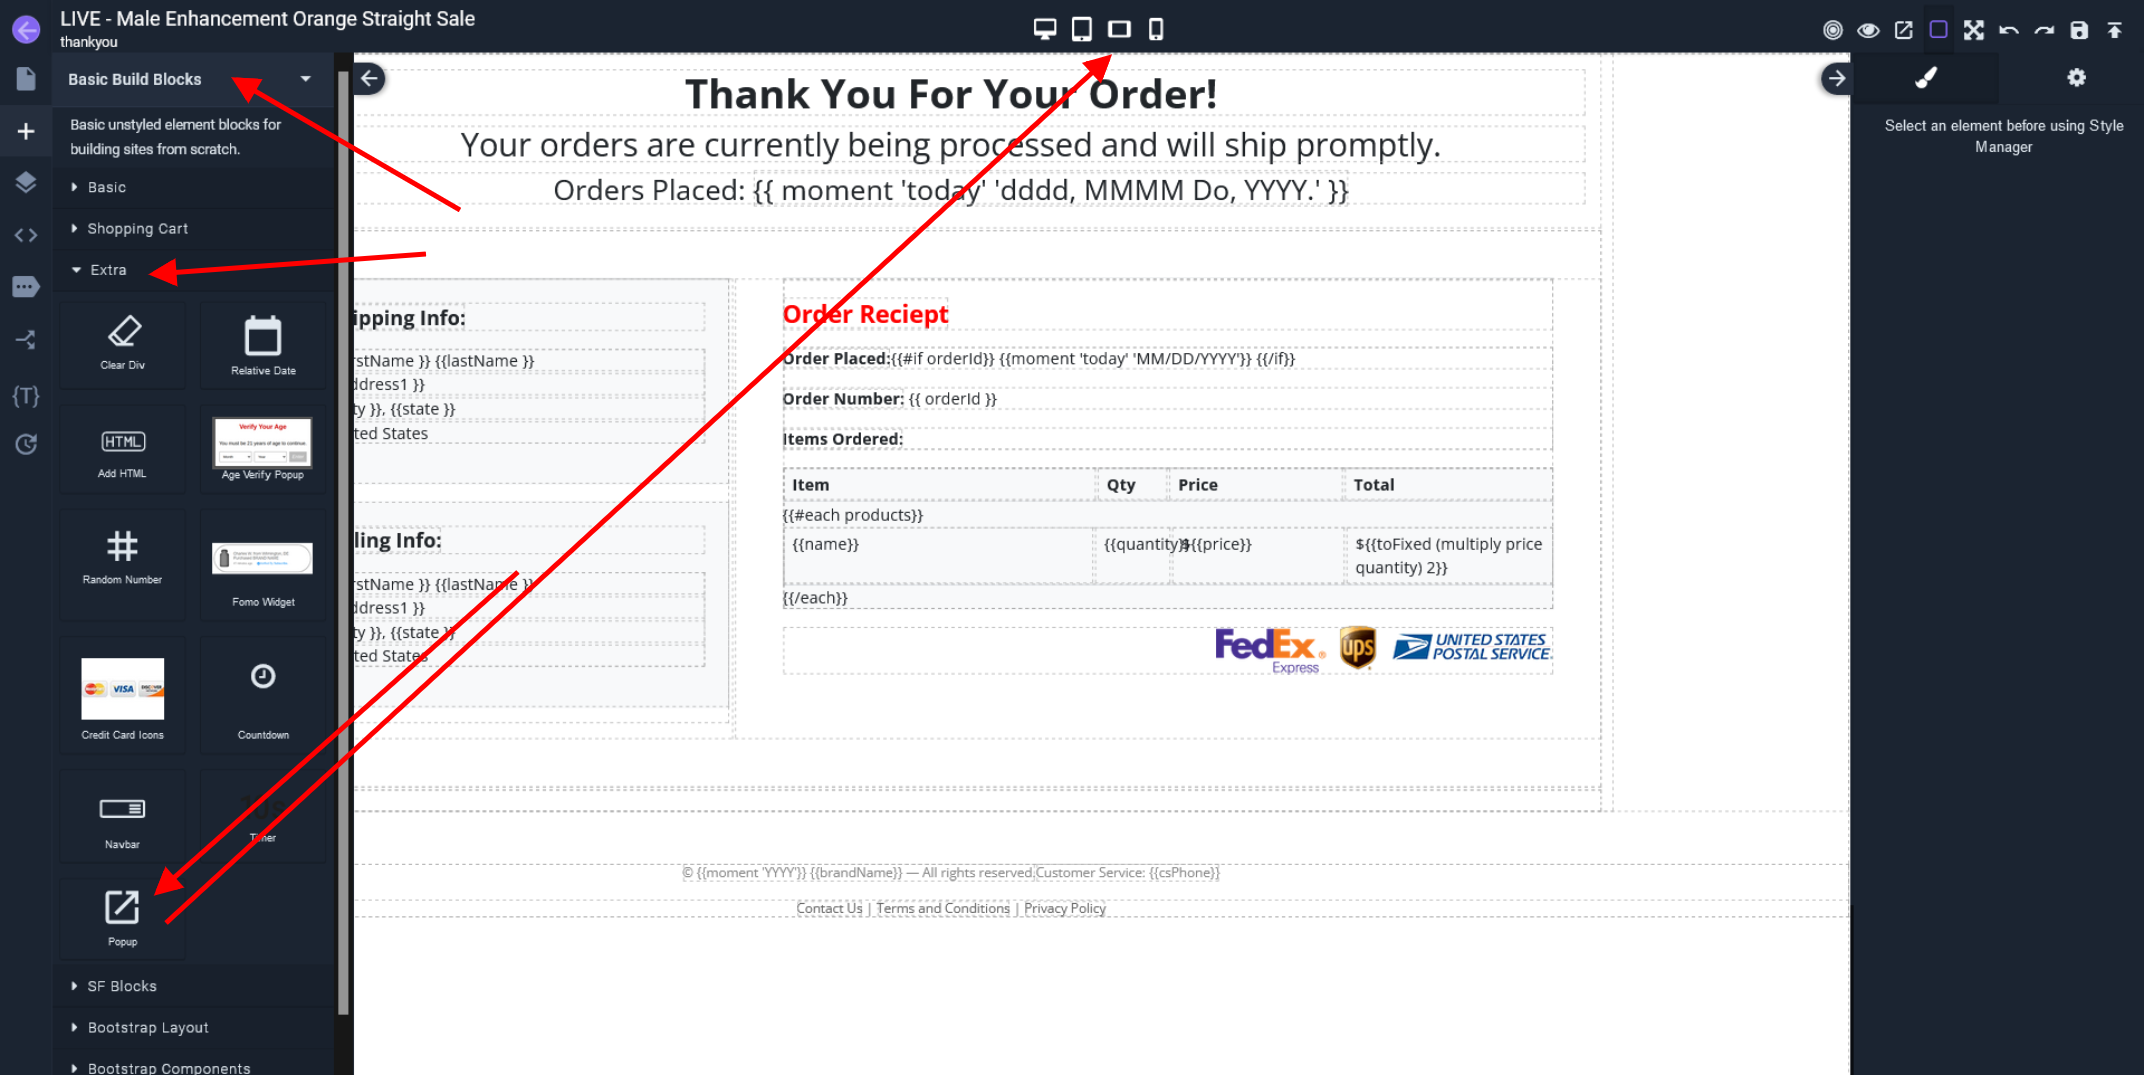
1. Drag the popup block into your project
Select 'Basic' under your Blocks palette on the left side of your page, then click and drag the popup block to the very top or very bottom of your page. Typically, we put popups on the thank you page, as seen below.
2. Selecting PopUp to Edit
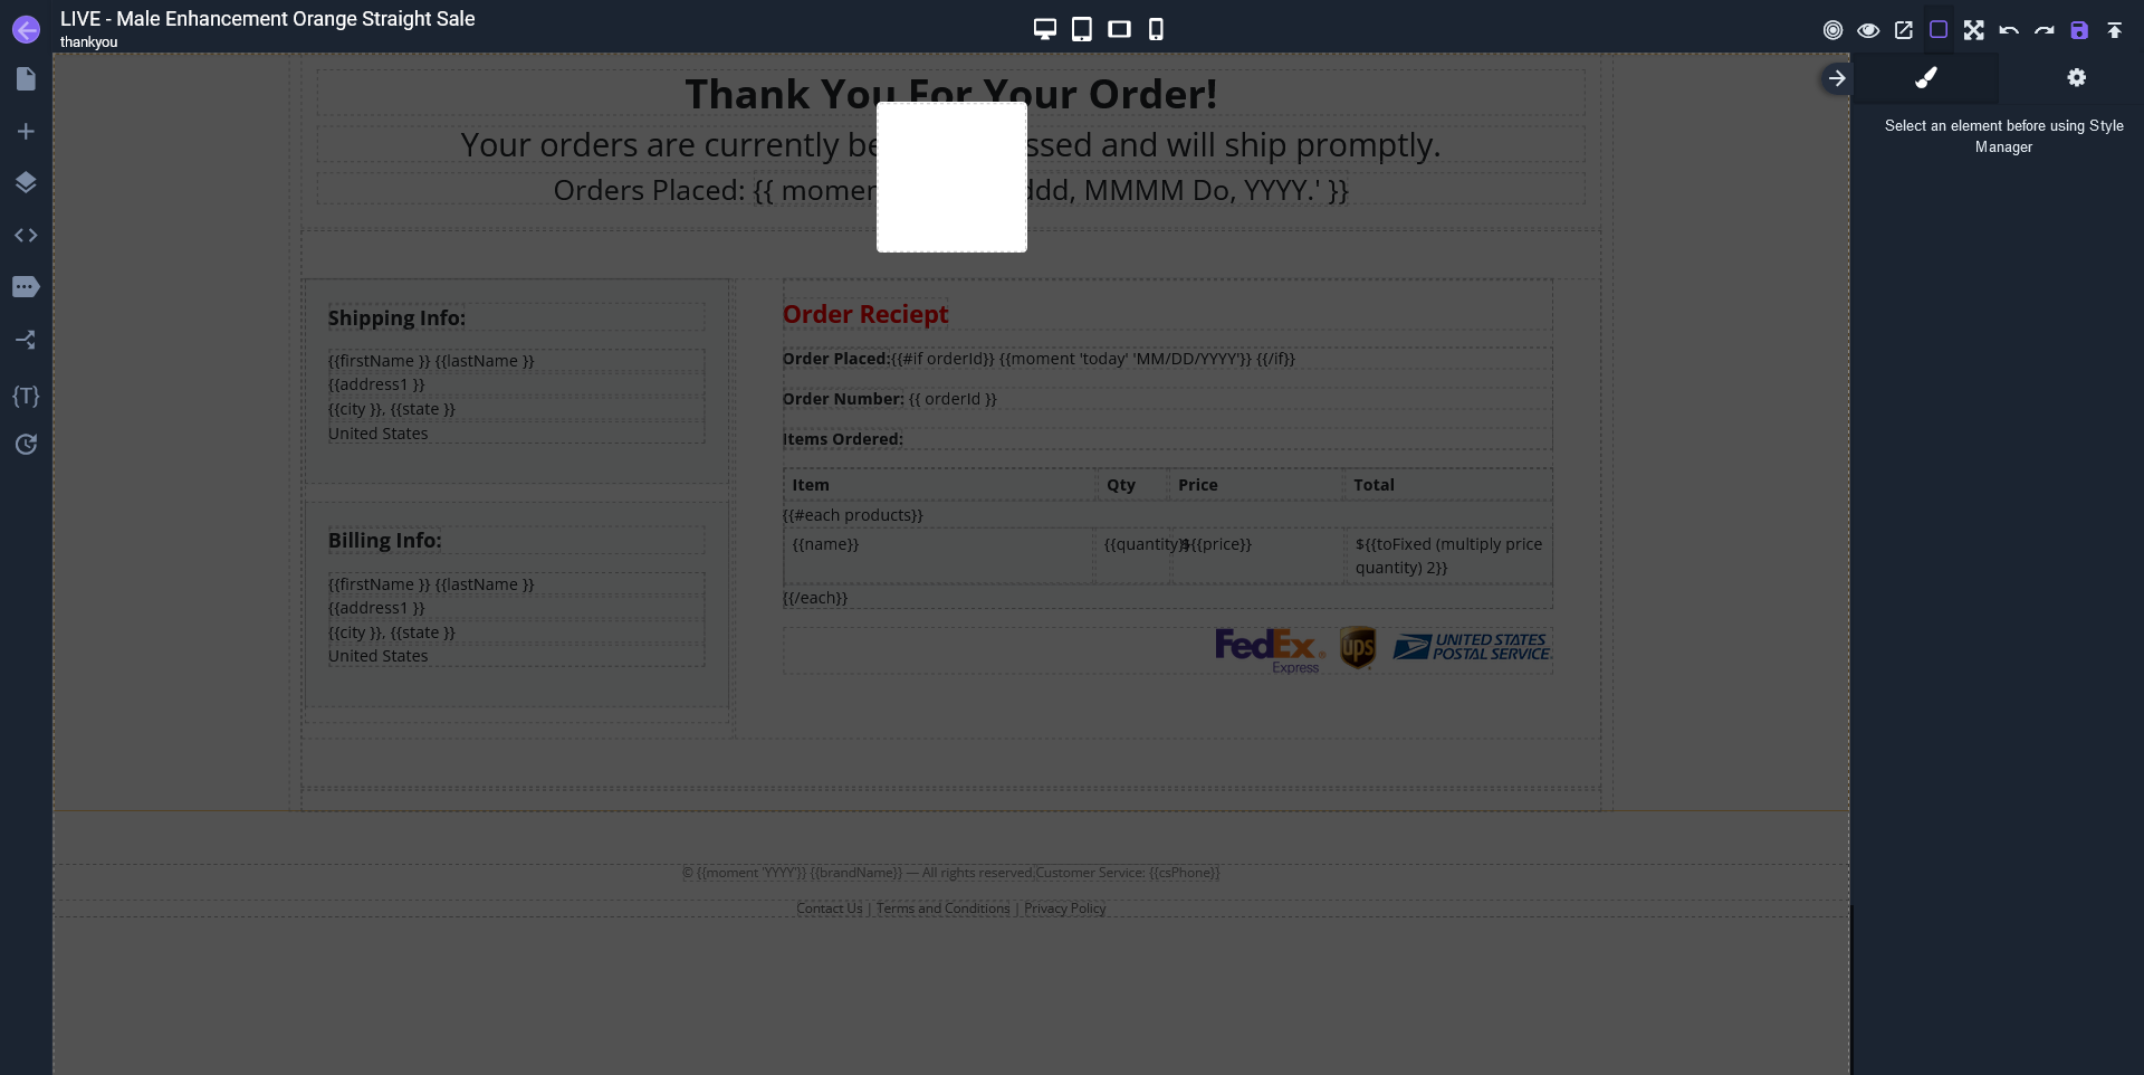
After you have dropped the block onto your page, it will appear as seen below. Click on your new block to select it. and click the up arrow icons to 'drill out' to the outer most div.
3. Configuring your popup
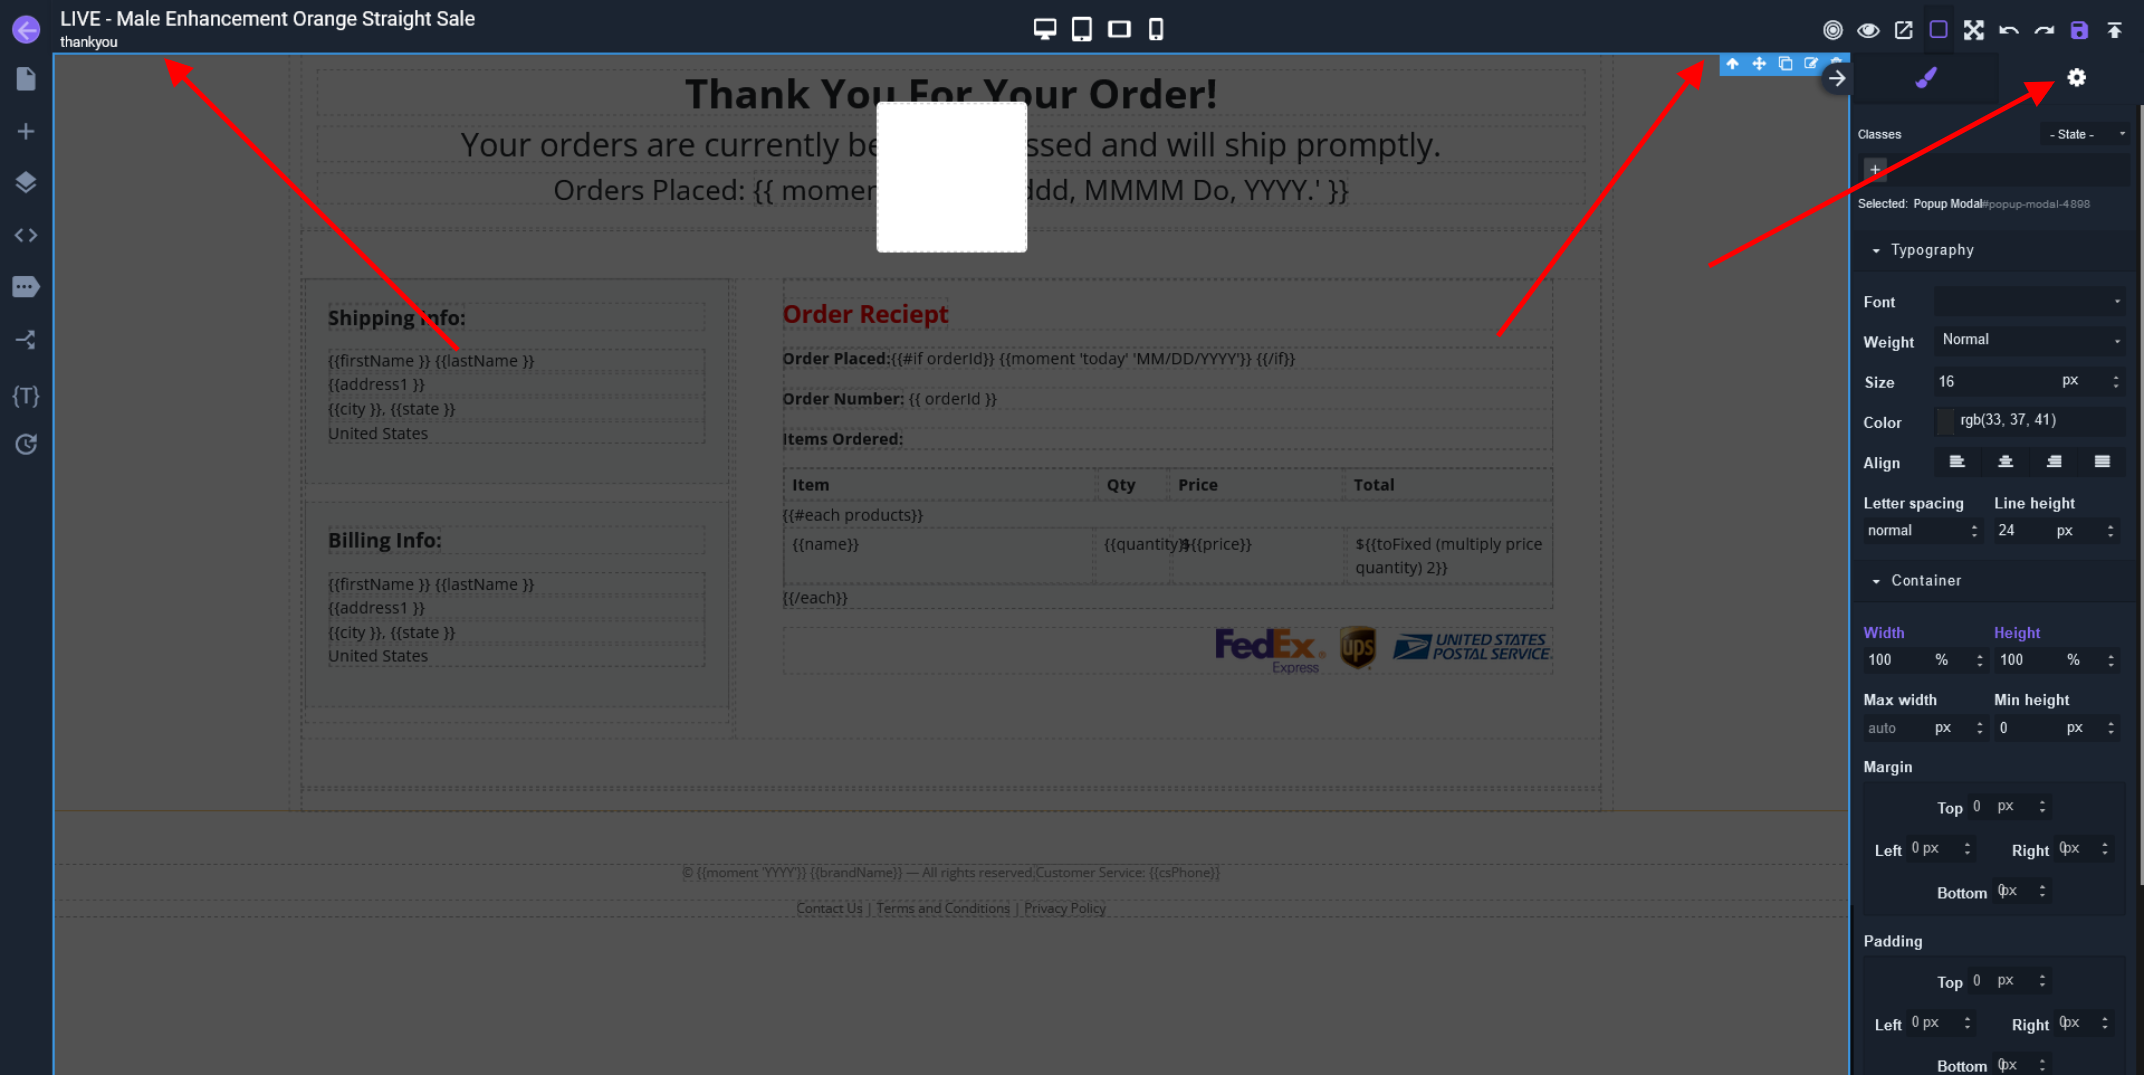
Now that you have 'drilled out' to the outer most div of your new popup block, click the 'gear' icon at the top right of your page.
4. Popup Configuration Options
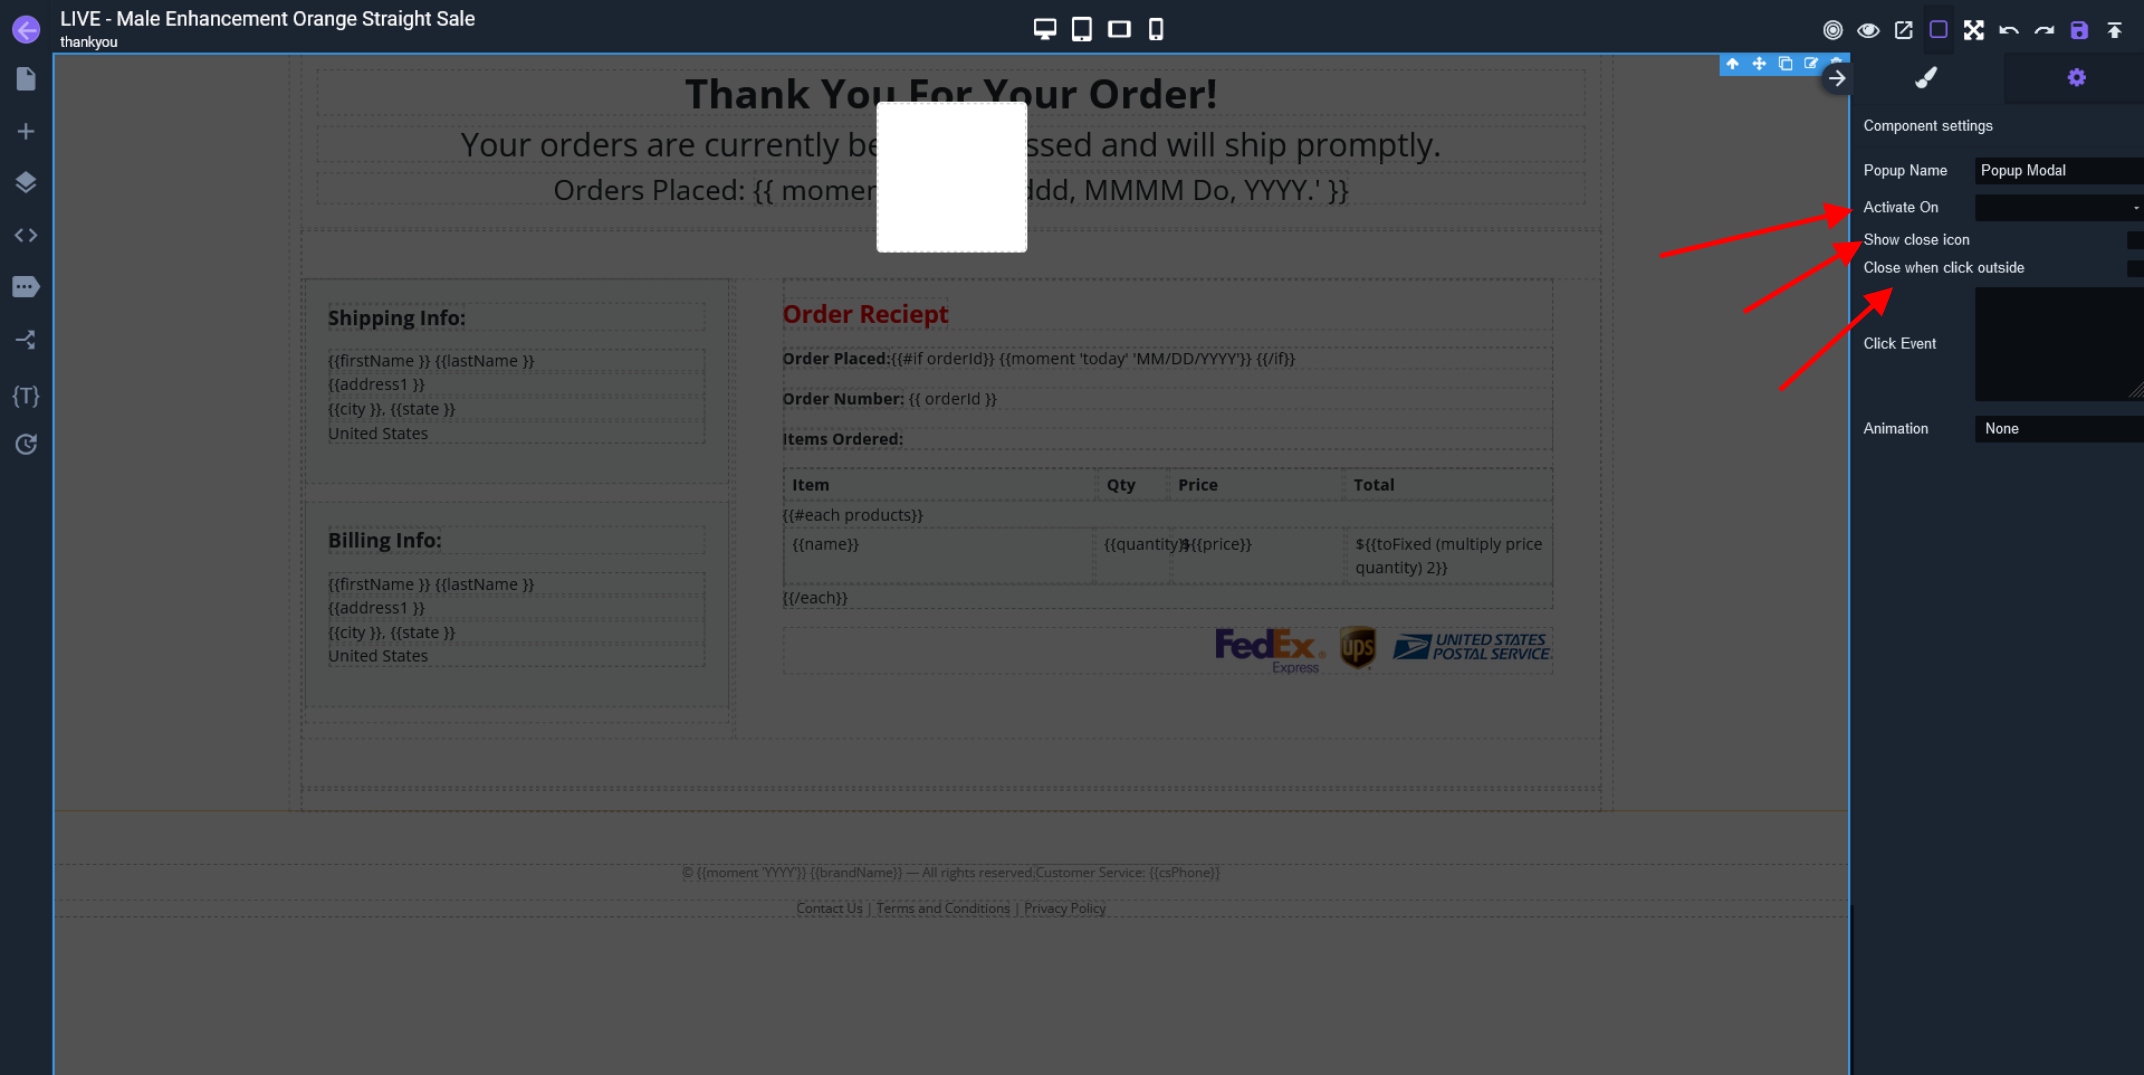
Clicking the 'gear' icon reveals the configuration options for your new popup. You may set when it fires, how it reacts, and you can customize your popup anyway you like with images, html code, as survey, etc.
5. Viewing and toggling your popup
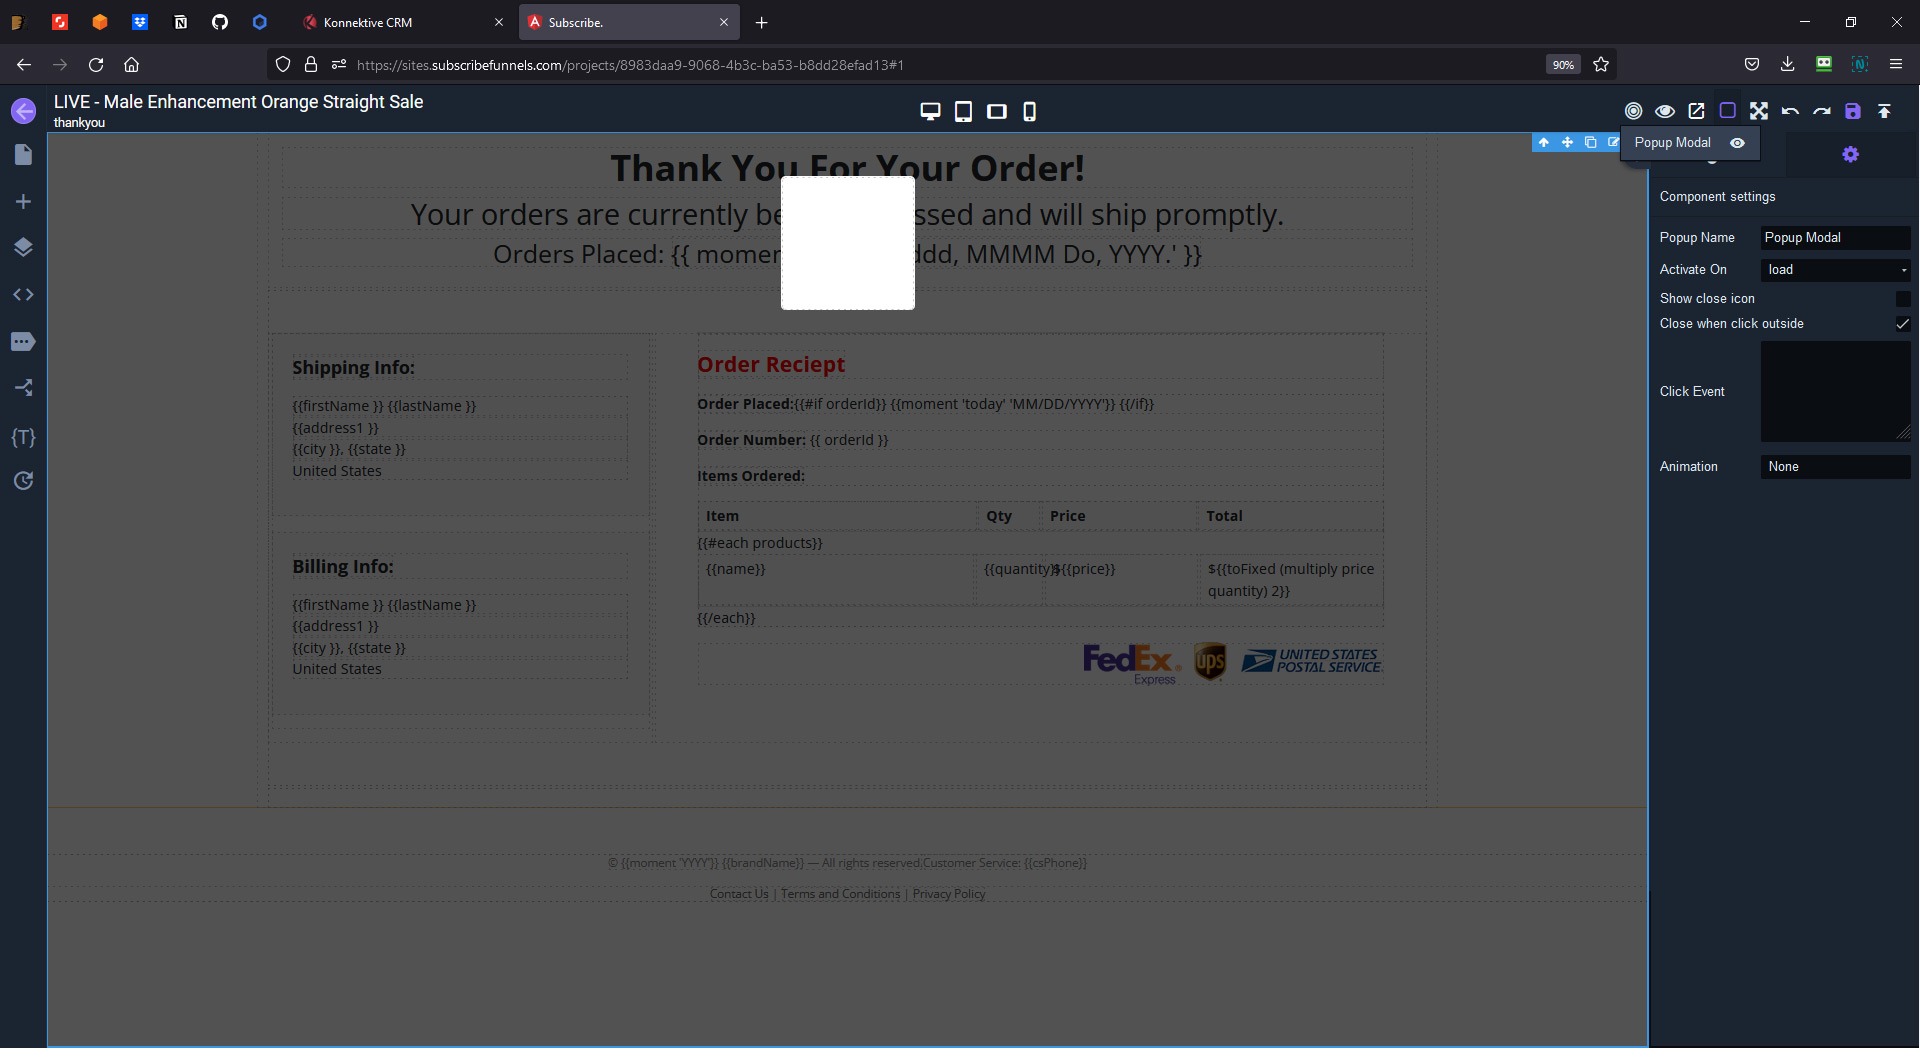
At the top right of your page, you will see a popup icon, the same icon used on the popup block in the blocks palette. Clicking this icon will reveal the PopUp Eye icon. If you want to view your popup for editing and developing, click the eye to reveal your popup. To hide your popup, click the eye icon again. See images below, including 5. a) and 5. b).
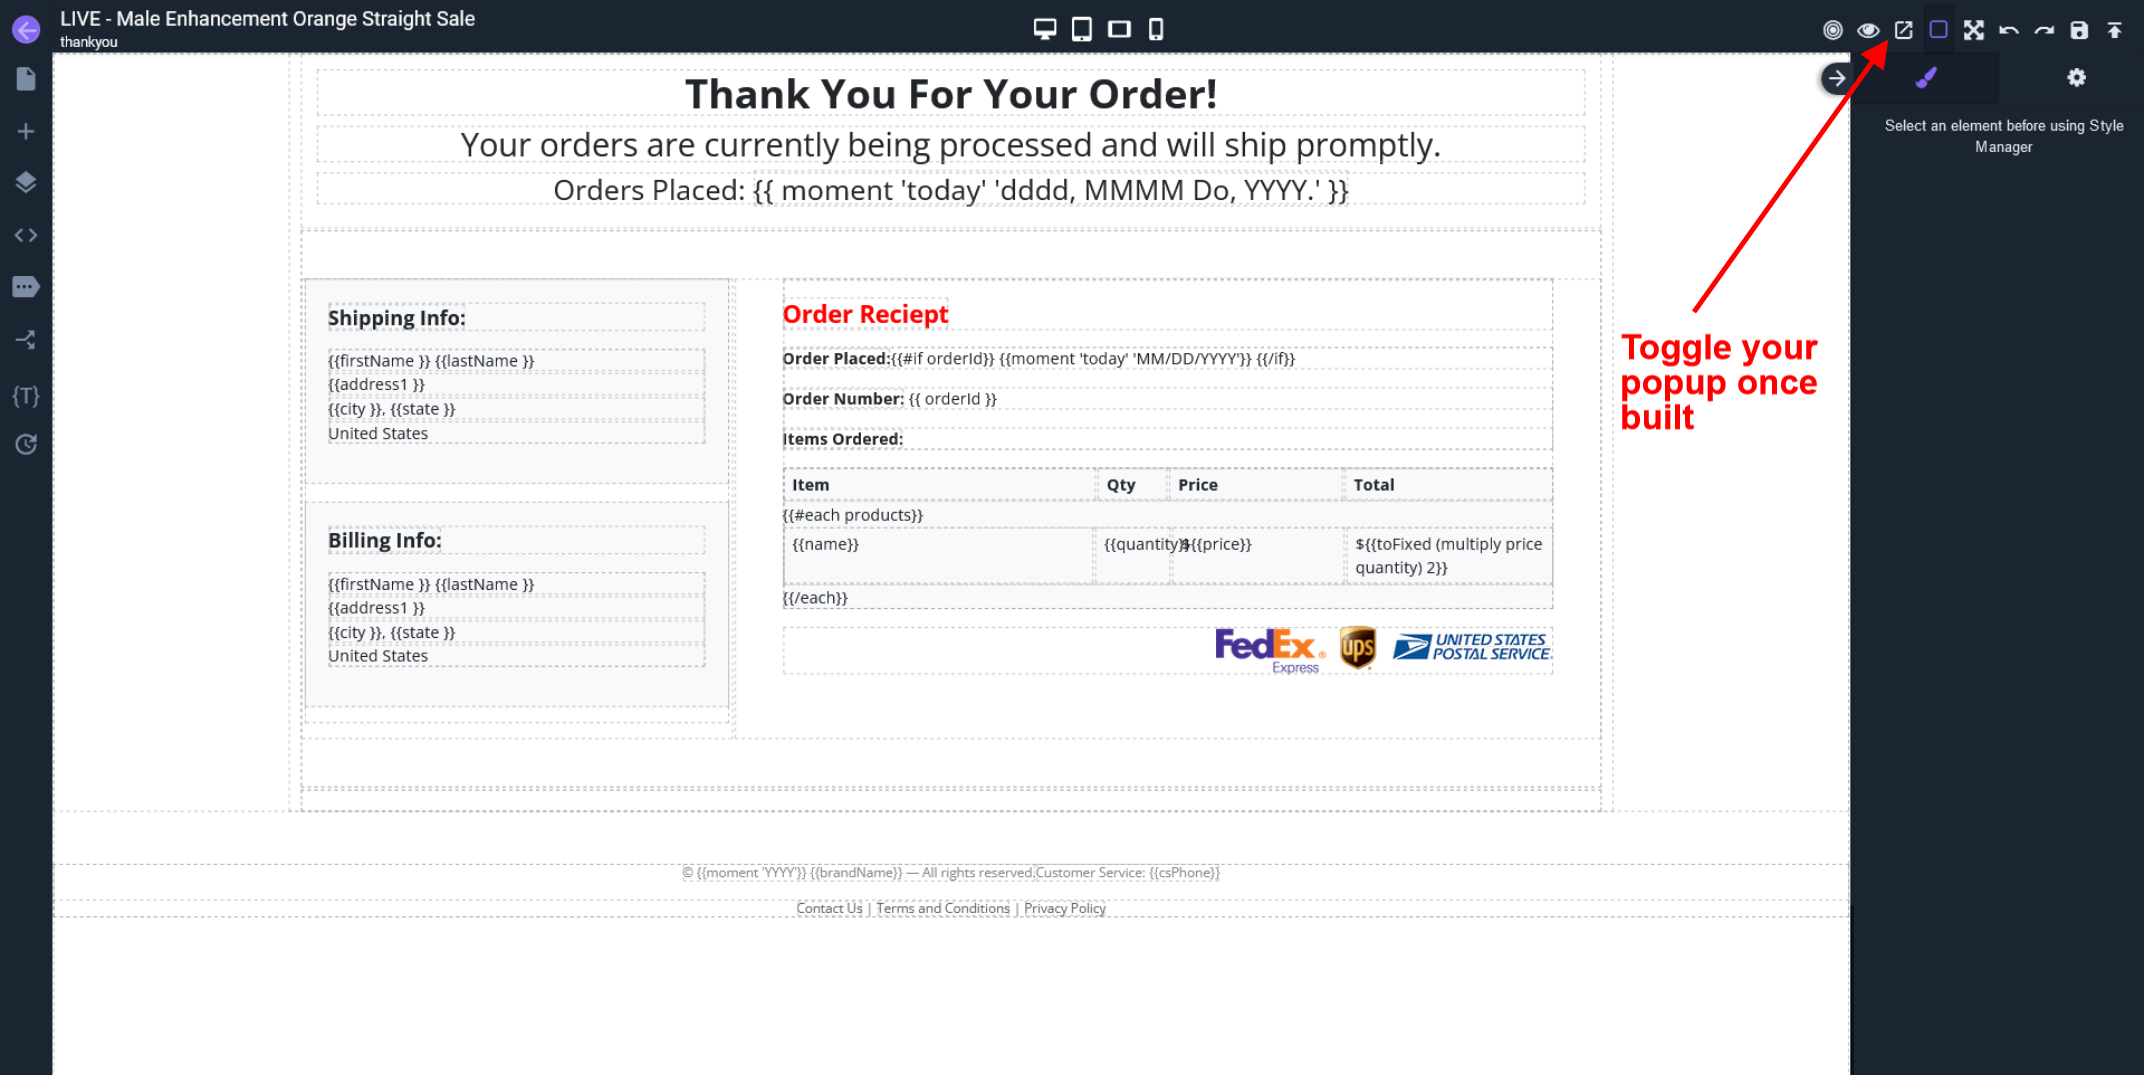
5. a)
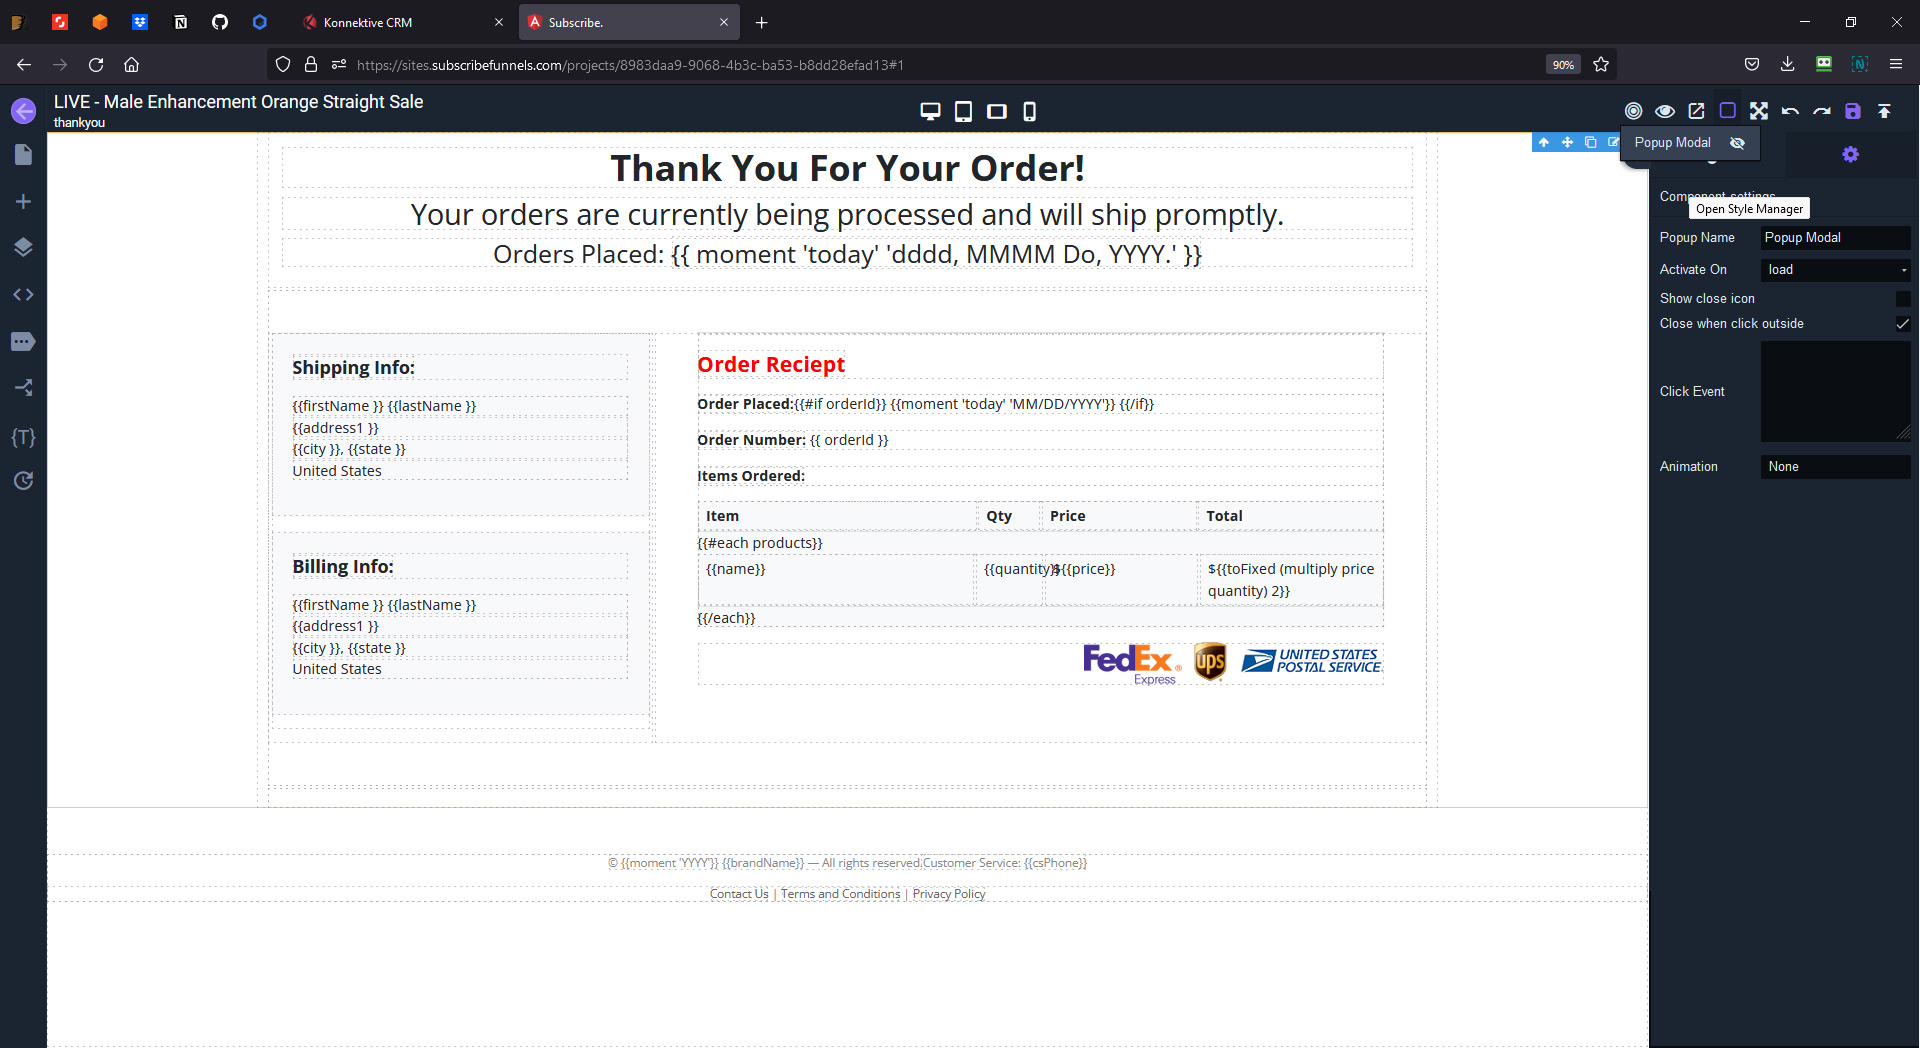

5. b)

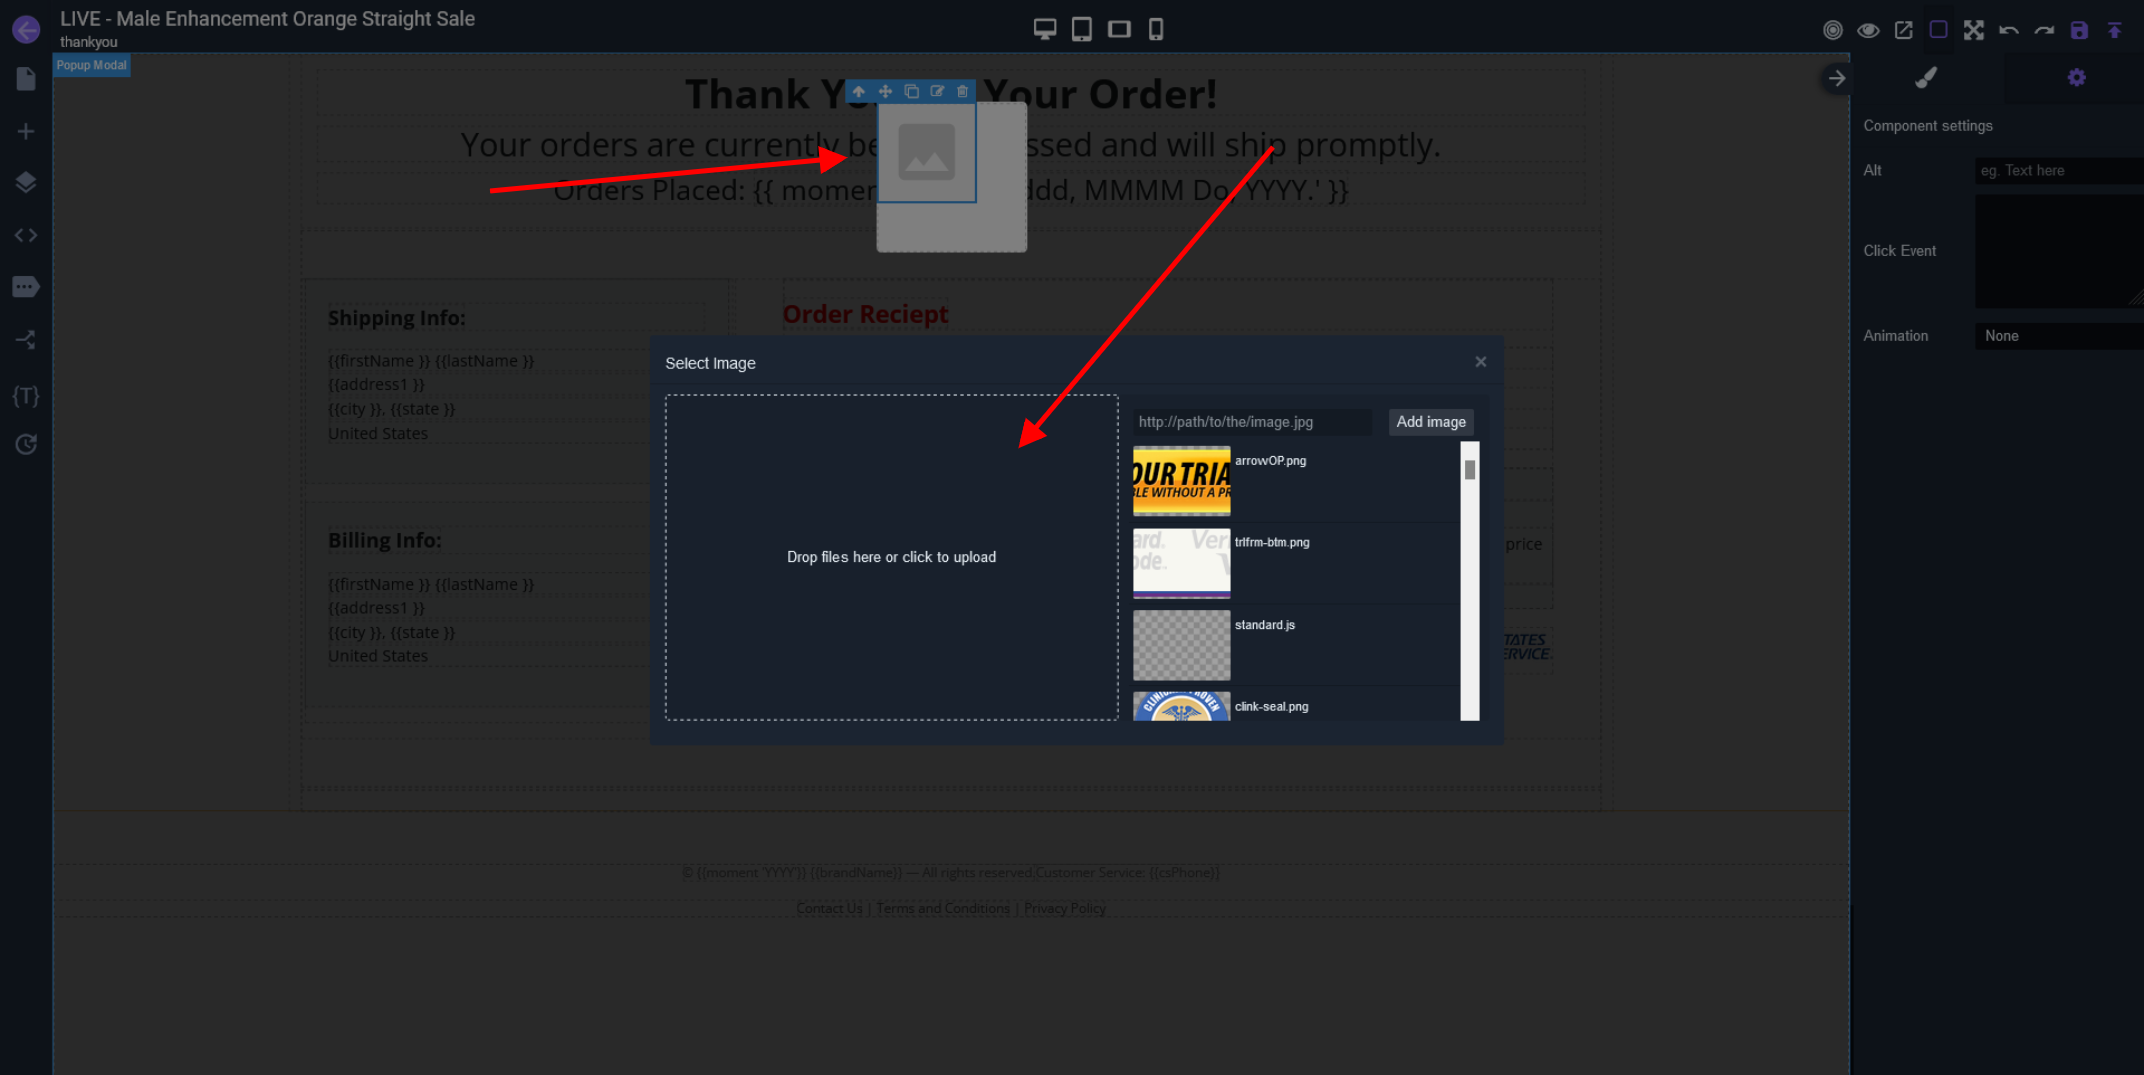
6. Edit PopUp Example
Below is an example of using the PopUp block to create and image exit pop. Here we have dropped an image block onto our popup to upload a customized image to our popup.
7. The final product
Below is how your new basic popup will look on the thank you page example with the popup being fired on page load
